Best Ro System Installation
Buy on whatsappDescription
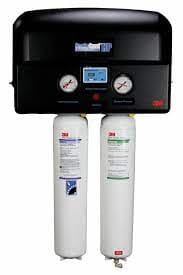
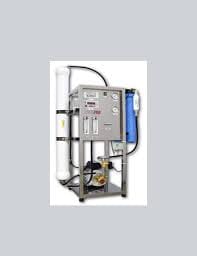
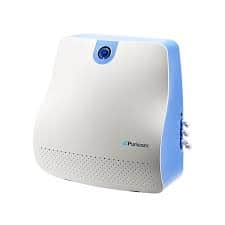
Choosing the Best RO System
Before diving into the installation process, it’s vital to select the right RO system for your needs. Here are some key factors to consider:
1. Water Quality Assessment
Begin by understanding the quality of your tap water. Conduct a water test to determine the contaminants present, such as chlorine, sediment, heavy metals, or bacteria. This information will help you choose an RO system with the appropriate filtration capabilities.
2. Certification and Performance
Look for RO systems that are certified by reputable organizations, such as the NSF (National Sanitation Foundation). These certifications ensure that the system meets specific standards for water filtration and purification. Additionally, consider the system’s performance indicators, such as flow rate, water wastage, and filter lifespan.
3. Installation Space and Compatibility
Evaluate the available space in your kitchen or utility area where you plan to install the RO system. Measure the dimensions and check if the system is compatible with your existing plumbing setup. Some systems may require additional components or modifications for installation.
RO System Installation Steps
Once you have selected the best RO system, follow these step-by-step instructions to install it correctly:
Step 1: Gather the Necessary Tools and Materials
Before starting the installation process, gather the following tools and materials:
- Adjustable wrench
- Drill and drill bits
- Tubing cutter
- Teflon tape
- Mounting hardware
- RO system installation kit (usually included with the system)
Step 2: Choose an Installation Location
Select a suitable location for installing the RO system. It should be near the water source, such as the kitchen sink, and have enough space for the system and any necessary pre-filters or post-filters.
Step 3: Install the RO Faucet
Drill a hole in the sink or countertop for the RO faucet. Follow the manufacturer’s instructions for the precise measurements and installation process. Secure the faucet tightly.
Step 4: Install the Pre-Filter (if applicable)
If your RO system includes a pre-filter, install it according to the manufacturer’s instructions. This filter helps remove larger particles and sediments before the water reaches the main RO membrane.
Step 5: Connect the RO System Components
Connect the system components using the provided tubing and fittings. Ensure a tight and secure connection to prevent leaks. Follow the manufacturer’s instructions for specific details on connecting the feed water line, drain line, and storage tank.
Step 6: Install the Post-Filter (if applicable)
Some RO systems may have a post-filter to further enhance the water’s taste and remove any residual odors. Install the post-filter as per the manufacturer’s instructions, usually connecting it to the RO faucet.
Step 7: Test and Flush the System
After completing the installation, turn on the water supply and check for any leaks. Allow the system to fill up and flush for a few minutes to remove any air bubbles or residual impurities.
Conclusion
Installing the best RO system is an investment in the quality and safety of your drinking water. By following the steps and guidelines outlined in this article, you can ensure a successful and efficient installation process. Remember to choose a high-quality RO system, assess your water quality, and perform routine maintenance to enjoy clean and purified water for years to come.
Remember to consult the manufacturer’s instructions and seek professional help if needed during the installation process.

Disclaimer: The information provided in this article is for general informational purposes only and should not be considered as professional advice. Always consult the manufacturer’s guidelines and seek professional assistance for installing RO systems.